Core Exercises for Beginners: a 15-Minute Home Routine (No Crunches)
Your core is a stabilizer, not a six-pack project. This no-crunch, 15-minute home routine trains it the way it actually works — with planks, dead bugs, and bird dogs — plus form cues, progressions, and what to expect in six weeks.
By the Wellspring Daily editorial team · How we check our guides
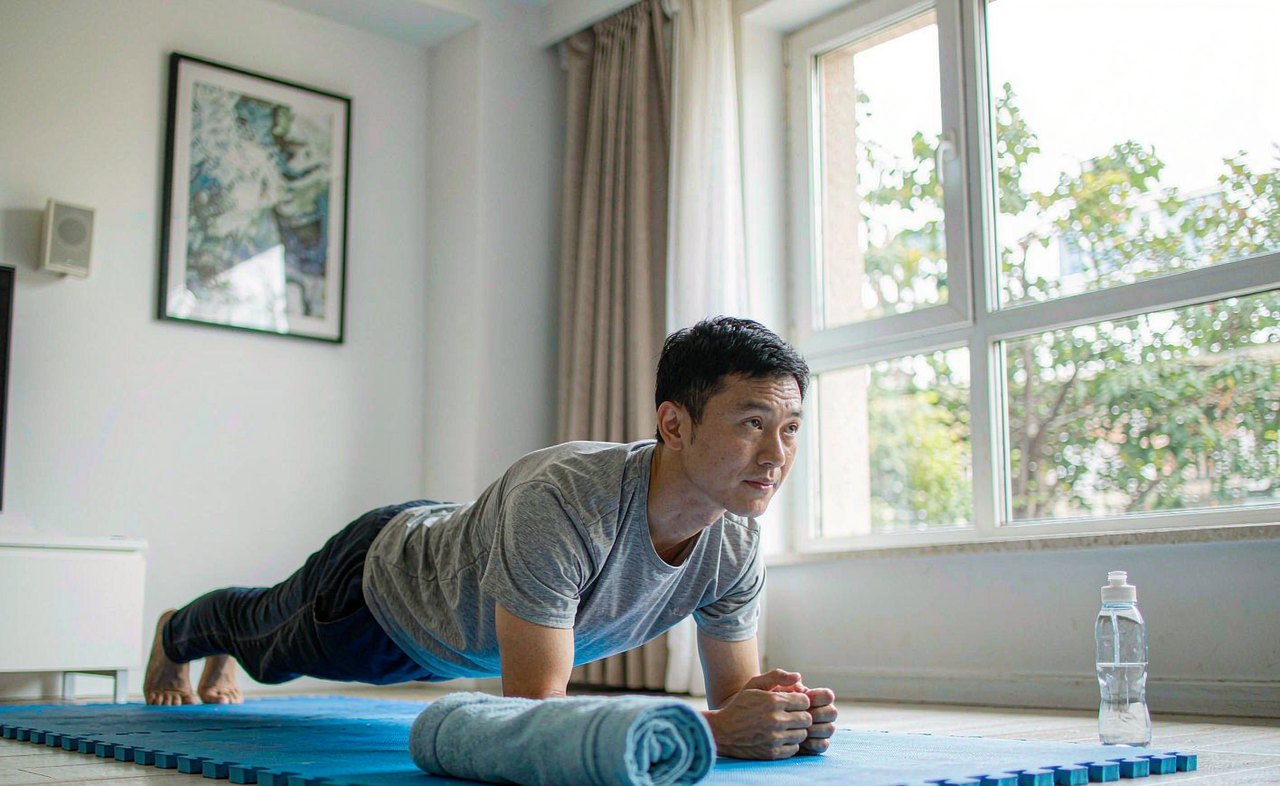
Ask most people to train their core and they will start doing crunches. It is an understandable reflex, but it trains the trunk in exactly one direction — bending forward — while the core's real job all day is the opposite: resisting unwanted movement while your arms and legs do things. Carrying groceries, climbing stairs, sitting at a desk without your lower back quietly complaining — all of that is stabilization.
This article gives you a fifteen-minute beginner routine built around that reality: no crunches, no equipment, nothing on the floor but a mat or carpet. It pairs well with the full-body no-equipment home workout and the resistance band routine — on a three-day-a-week schedule, this can be the third session.
What the core actually is
Strip away the marketing and the "core" is a cylinder: deep abdominal muscles in front and at the sides, muscles that run along the spine, the diaphragm on top, the pelvic floor underneath, plus the glutes and hip muscles that anchor the cylinder to your legs. Its job is to keep your spine a steady platform while force travels through it — when you push a door, lift a suitcase, or reach overhead.
That is why a good core routine is mostly anti-movement work: holding a still trunk while limbs move or while gravity tries to make your hips sag. It is also why crunches have been oversold. They are a spine-bending exercise for one muscle group, and doing hundreds of them is the least efficient route to a trunk that holds you up well.
The routine: 15 minutes, three times a week
Do this on non-consecutive days. Two rounds of the circuit below, resting 30 to 60 seconds between exercises and a minute between rounds. Move slowly — in this routine, slow is the difficulty dial.
- Dead bug — 5 slow reps per side
- Forearm plank — 2 holds of 15 to 30 seconds
- Bird dog — 5 slow reps per side
- Side plank (from knees is fine) — 2 holds of 10 to 20 seconds per side
- Glute bridge — 2 sets of 10 to 12
That is roughly ten working sets. If the whole thing takes less than twelve minutes, you are rushing — add time to the rests, not more exercises.
How to do each movement well
Dead bug
Lie on your back, arms straight up over your shoulders, knees bent at ninety degrees. Press your lower back gently toward the floor — that light pressure is the position you are protecting. Now lower one heel toward the floor and the opposite arm overhead, keeping the back pressed down, then return and switch sides. Easier: move only the legs. Harder: slow each rep to a five-count. If your lower back arches off the floor, the range is too big — shrink it.
Forearm plank
Elbows under shoulders, forearms flat, body one straight line from head to heels. Squeeze glutes, brace the stomach as if bracing for a light poke, and breathe. The classic failure is the sagging lower back or the piked-up hip — both mean the hold is too long. Easier: plank from the knees, or hold a plank with hands on a counter. Harder: extend the hold toward forty-five seconds, or lift one foot an inch.
Bird dog
On hands and knees, extend one leg back and the opposite arm forward until both are level with your torso, like a table gaining two legs. Pause for two seconds, return without wobbling, switch. The temptation is to reach high; do not — the goal is a level line from fingertips to heel, with a stable trunk. Harder: three-second pauses, or slow the movement down further.
Side plank
On your side, elbow under shoulder, hips lifted so your body is one line. From the knees is a perfectly respectable version — almost every beginner should start there. You will notice one side is usually much weaker; that asymmetry is exactly why this exercise earns its place. Harder: straight-leg version, or add a slow hip dip and lift.
Glute bridge
On your back, knees bent, feet flat. Drive through the heels, squeeze the glutes, and lift the hips until your body is straight from knees to shoulders — no higher, and without arching the lower back. The glutes are the back anchor of the whole cylinder; weak glutes make every other core exercise compensate through the lumbar spine.
Breathing is part of the exercise
Beginners almost always hold their breath during isometric holds, which is why a fifteen-second plank can feel like a drowning event. The simple version: keep breathing, exhale as you brace or exert, and use the breath to keep the ribs from flaring up. If you cannot breathe smoothly in a plank, drop to an easier version — breathing quality is a form cue, not a luxury.
How to progress over six weeks
Write down what you did. Then move one dial at a time, roughly in this order: first add reps or hold time within the ranges above, then slow the tempo, then move to the harder variation (straight-leg side plank, longer bird-dog pauses, single-foot planks). Expect the first noticeable changes not in the mirror but in daily life: less stiffness in the lower back after sitting, steadier posture when tired — the desk stretch routine covers the sitting side of that equation — and better control in the other workouts you do.
Visible changes, if that is your goal, depend far more on overall body composition and diet than on any ab exercise. No core routine "spots reduces" belly fat; that claim is one of the most persistent myths in fitness.
Common mistakes worth avoiding
- Chasing time in planks. A two-minute sagging plank teaches your spine to sag. Quality holds of twenty to thirty seconds beat sloppy minutes.
- Rushing reps. Momentum does the work stability training is supposed to train. Slow down and the same five reps double in value.
- Training the core every day. Muscles adapt between sessions, not during them. Three quality sessions a week beat seven token ones — the same principle the habit-building guide applies to everything else.
- Ignoring pain. Muscular effort burns; joints should not complain. Sharp back pain, numbness, or tingling means stop, not push through.
Who should check with a professional first
If you are pregnant or recently postpartum, have a hernia, osteoporosis, a current or recent back injury, or any condition your doctor has flagged, ask a healthcare professional or a qualified physiotherapist before starting — the routine above is general and can be adapted, but the adaptation is individual. Persistent lower back pain that does not settle within a couple of weeks of sensible activity also belongs in a professional's office.
This article is general health information, not medical advice. It cannot account for your individual circumstances — when in doubt, consult a qualified healthcare professional before starting a new exercise routine.
A note on health advice
This guide shares general wellbeing information based on published guidance and personal testing. It is not medical advice. If you have a condition, are pregnant, or feel pain during any movement, check with a qualified professional before starting.